How To Setup an Ubuntu Server on Digital Ocean
So you can run Survloop on the web.
Create Your SSH Key, If You Haven't Already
From the macOS Terminal (Applications -> Utilities) — or alternatives like iTerm — run this command
ssh-keygen -t rsa
Press the ENTER key to accept the default location, then enter a passphrase twice. This creates new files in your Mac User's folder at "~/.ssh/id_rsa.pub" and "~/.ssh/id_rsa". Run the following command to copy your key to your clipboard, for the next step:
pbcopy < ~/.ssh/id_rsa.pub
Log Into Your Digital Ocean Account.
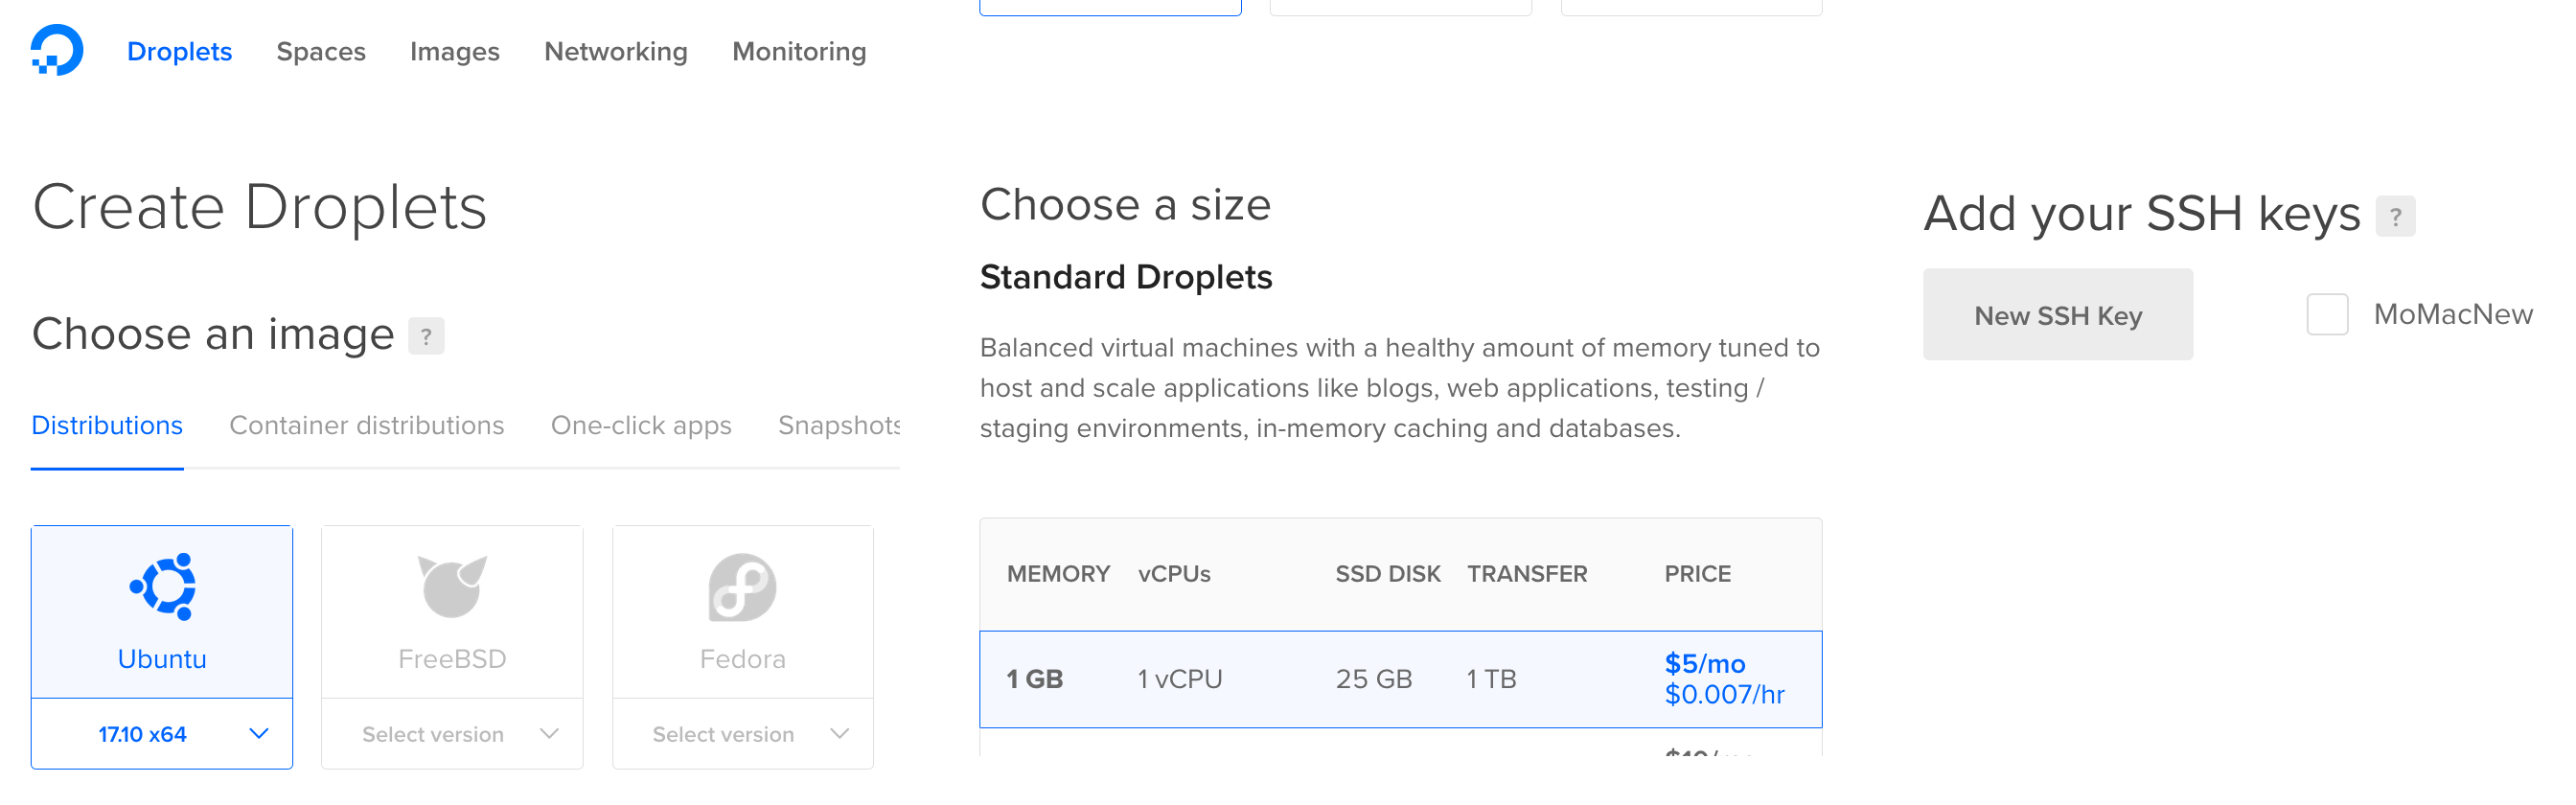
Create a new Droplet, with a recent version of Ubuntu.
The minimal memory size of 1GB is usually sufficient to get off the ground, but you can easily upgrade this later if needed.
If you have already setup your SSH Key with Digital Ocean before, select it. Otherwise, click the "New SSH Key" button and paste the contents of your key which was copied to your clipboard above.
Link The Domain (optional)
Go to your domain registrar and setup Custom DNS Servers to...
- ns1.digitalocean.com
- ns2.digitalocean.com
- ns3.digitalocean.com
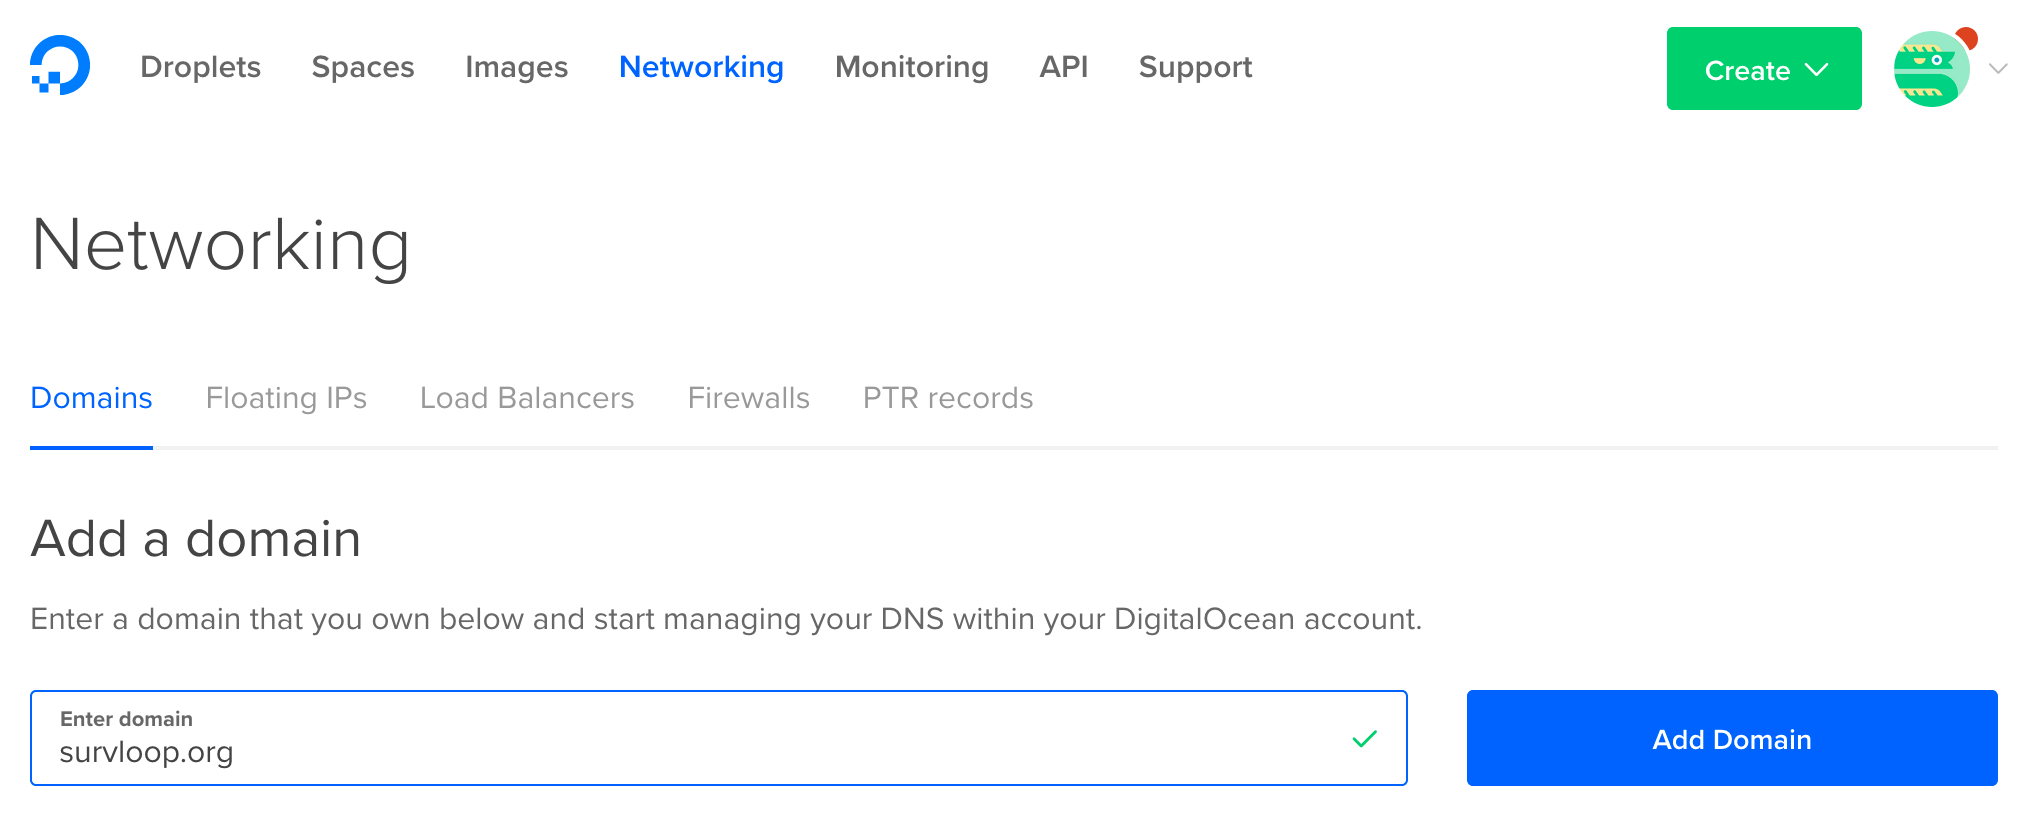
Then return to Digital Ocean and go to the Networking area, where you can "Add a domain":
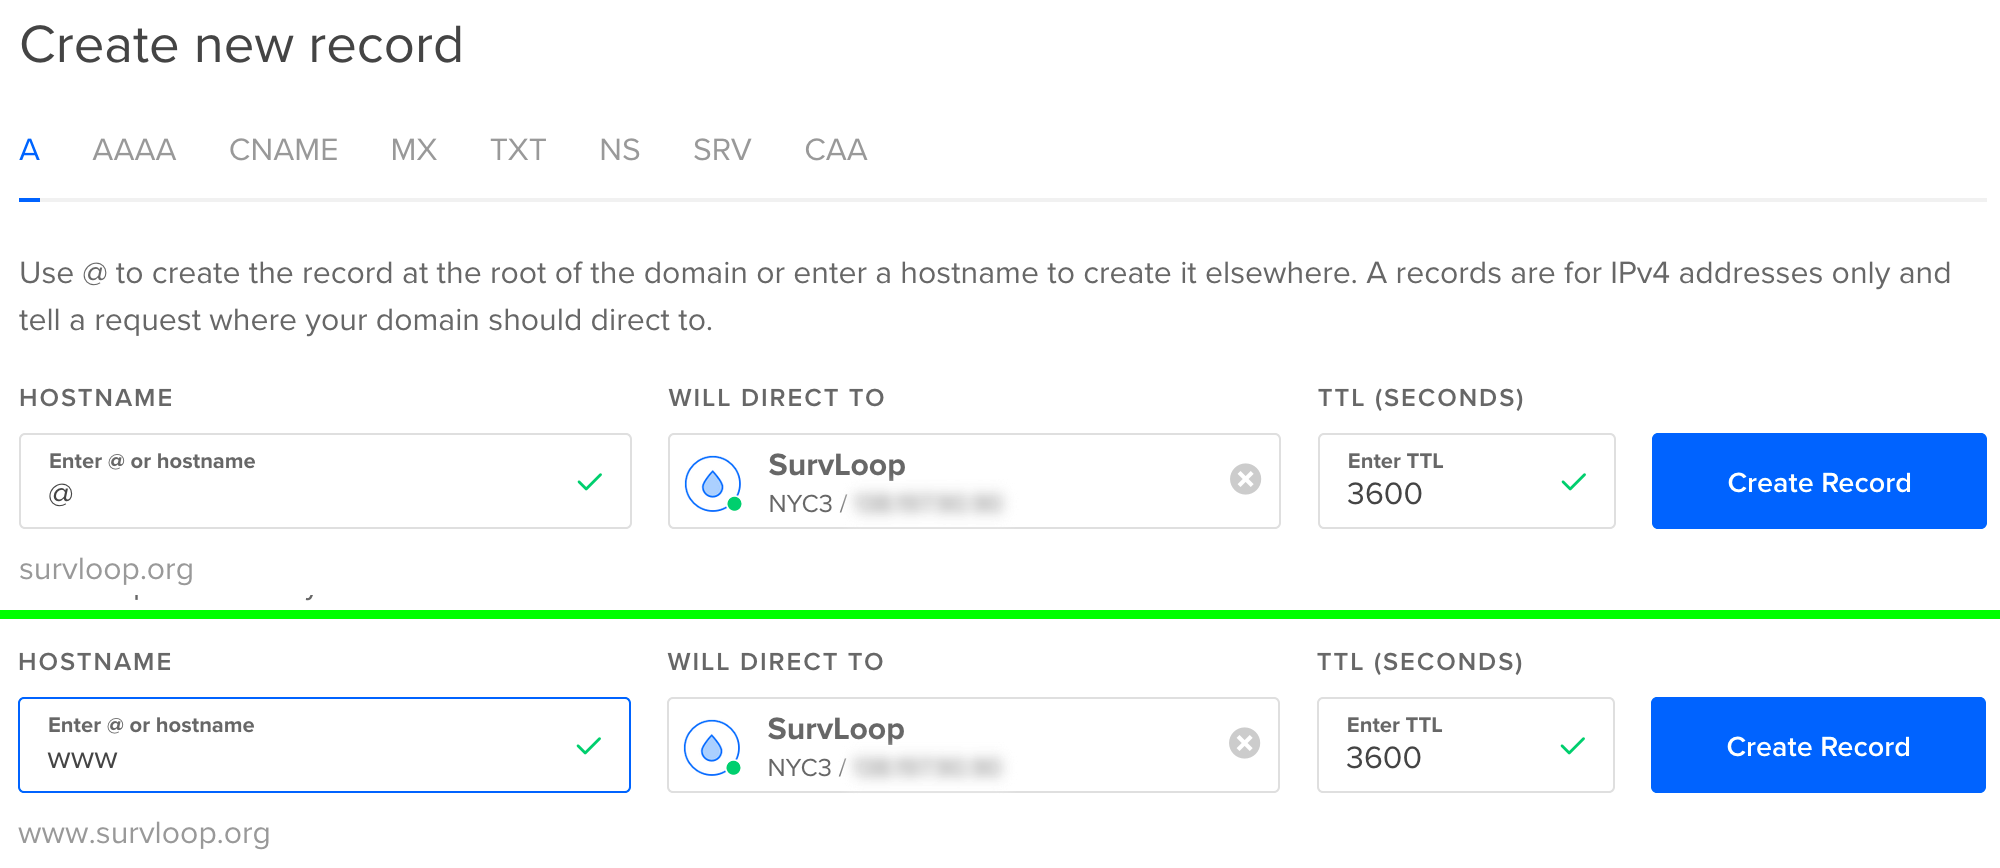
This will bring you to the domain's details, where you should add DNS Records. Add two "A Records" pointing to your newly created Droplet, one for hostname "@" and one for hostname "www"...
Connect To Your Server
If your domain linkage has already propagated, you can SSH connect using your domain name instead of your server's IP address in this command:
ssh root@12.34.56.78